
It’s been 20 days since my last post. With summer in full swing and long family visits, it’s been difficult to keep up with my writing. This blog post is for anyone looking for ways to keep your back happy. Somehow, when I saw this photo of the giraffe, I was inspired to think about backs! How does a giraffe maintain its long elegant spine?
Below are 10 yoga postures (asanas) and yoga strategies to keep your back, neck, and shoulders healthy, strong, flexible, and pain free.
With all of the stretches below, if one side of your body is tighter than the other, hold the stretch on the tight side longer.
1) Side bend at the wall
Stand at one-arm distance from the wall. With your lower hand to the wall, and with your outside leg crossed in front of the other, place the OUTSIDE hand up into the air and reach for the wall. This pose allows for a very pleasant shoulder and side stretch. It also allows the lower back to decompress. Hold anywhere from 3-5 breaths. Direct your breathing into the tightest part of your back. Imagine your lungs expanding on the stretched side. Repeat on side two. Side bends are incredibly energizing!

side bend at the wall
2) Seated “chair” pose at the wall
Stand with your back to the wall and bend your knees. Pretend to sit on an invisible chair. Your feet should run parallel and be placed hip distance apart. Your knees will be at a 90 degree angle. Most important here is to do a Pelvic Tilt. To do a Pelvic Tilt, press your lumbar into the wall so that there is NO space between the wall and your lumbar. Hold the position and breathe 2-3 breaths.
This pose is for overall strength and stability. In addition to helping strengthen one’s core abdominal muscles, it also strengthens the quads and, in turn, is excellent for those with weak and unstable knees. Strong abdominal muscles help give the lower back a lot of support.

Seated “chair” pose at the wall
3) Reach arms to a wall.
In this photo, the model does not have her arms reaching to a wall, but this pose works wonderfully, if you are reaching for a wall. Your arms will be stretched and fingers reach. All the while, you will do a very strong Pelvic Tilt into the mat/floor. There will not be a gap between your lumbar and the mat. First do the pelvic tilt, then reach arms overhead.
This posture will strengthen the abdominal muscles and pelvic floor, in addition to stretching the rib cage and shoulders. Keep knees bent and feet at hip distance apart. Hold half a minute to one full minute and breathe!

Connect lumbar to the mat and reach arms to a wall
4) Bridge Pose
This pose is pretty basic, and very approachable. I probably do this pose in every single class I teach because it is so unbelievably beneficial for the back. The benefits of this pose are incredible and include:
- stretches and breaks up tension in the neck and shoulders
- stretches the area around the heart and front chest
- corrects poor posture
- helps relieve stress by promoting strong breathing patterns
- tones and strengthens the hamstrings, lower and upper back muscles
- stretches the hips and quads
- tones the kidneys
- energizes
Start by lying on your back with knees bent and feet at hip distance apart. Elongate your back before lifting it off the floor by FIRST coming to a pelvic tilt. With back elongated, begin to power the pose with your strong legs and press pelvis up into the air. Clasp hands underneath you. Reach little fingers to the floor, straighten arms and tuck shoulders underneath you. Breathe!! When you come out, pull knees in towards chest.

Bridge Pose
5) Twist at the wall
I love using the wall for this twist. If you can, use a corner so that both feet will be reaching for a wall. Extend your arms out to your sides and try to get your shoulders to touch the mat. Turn your head away from the wall for the full spinal rotation. Make sure that as you twist, you are lying on the outside of the lower hip and that your hips bones are “stacked” one over the other (as in the photo below). Hold anywhere from 20 seconds to one full minute. Breathe into your shoulders and lower back. Always come out slowly! Pull knees to chest and rest your back. Repeat side two.
To modify this pose, you may want to place a block under the top leg that reaches for the wall. To modify further, you may want to simply bend the top leg and don’t reach it to the wall, resting the bent knee on a block.
Just about the whole body benefits from this pose. In addition to stretching your spine, your shoulders, outer hips, and legs will be stretched.

Twist at the wall
6) Reverse Plank Pose using a chair
Very powerful way to strengthen your back! If one side is weak or over-taxed, Reverse Plank is great for re-establishing balance in your back. The photo below shows the model using a block at her thighs and at her feet. You can also do this without a block which will make it easier. To further modify, bend your knees before you lift.
Hold two to three breaths. Rest and Repeat.
Remember to use your buttocks, backs of the legs and the entire back to lift. Use your feet as they are your foundation. Make sure your wrists are directly under the line of your shoulders!!! And place your hands almost to the middle of the chair so that the chair doesn’t flip.

Reverse Plank using a chair (using the block is optional)
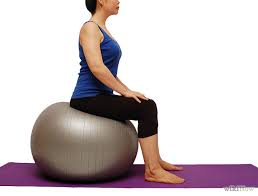
7) Lying over a gymnastic ball
If you do this, you might have to modify by placing your hands under your head and protecting your neck. I like to go back and forth by bending the knees and almost dropping my buttocks to the floor and then pushing my feet into the floor and arching back more deeply. The more bent the knees are, you the more modified the pose is.
Hold half to one full minute.
Excellent supported back bending pose, a true stress buster!

Lying over a gymnastic ball
8) Seated Forward bend
This can be done using a gymnastic ball, as below or can be done sitting at the edge of a regular dining room chair or folding chair.
Photo number one shows how to sit initially. Photo number two shows how to widen the knees as you would when doing “horse” pose or a deep squat.
There is no photo number three, but it would show the LAST step which is to fold your torso towards the floor. Feet firmly push into the floor for balance. You can take hands to elbows and hang or you can take hands to the mat/floor and reach forward.
Wonderful lumbar stretch, but this also stretches the inner thighs and neck and shoulders. The entire spine comes into traction which feels wonderful and is soothing to the nervous system. Hold half to one full minute.
Part I of the forward bend

Part II of the forward bend is to take the legs wide. Part thee is to firmly press feet onto the floor and come to a forward bend
9) Side lying over a bolster
Many people, if they own a bolster, have just one bolster. In the photo below, you can see two bolsters. In lieu of using a bolster under the head, I use a folded blanket or a block. If you are limber, you won’t need to support your head at all.
Remember, lower knee is bent and the top leg is straight. The key is to take the top arm over head and breath into the stretched top rib cage! Hold half a minute to one minute or longer if you like. If you are more limber, roll your torso back, moving towards the wall behind you and this will give you a deeper side bend and an additional arch to your back.

Note how the top leg is straightened and the lower leg is bent.
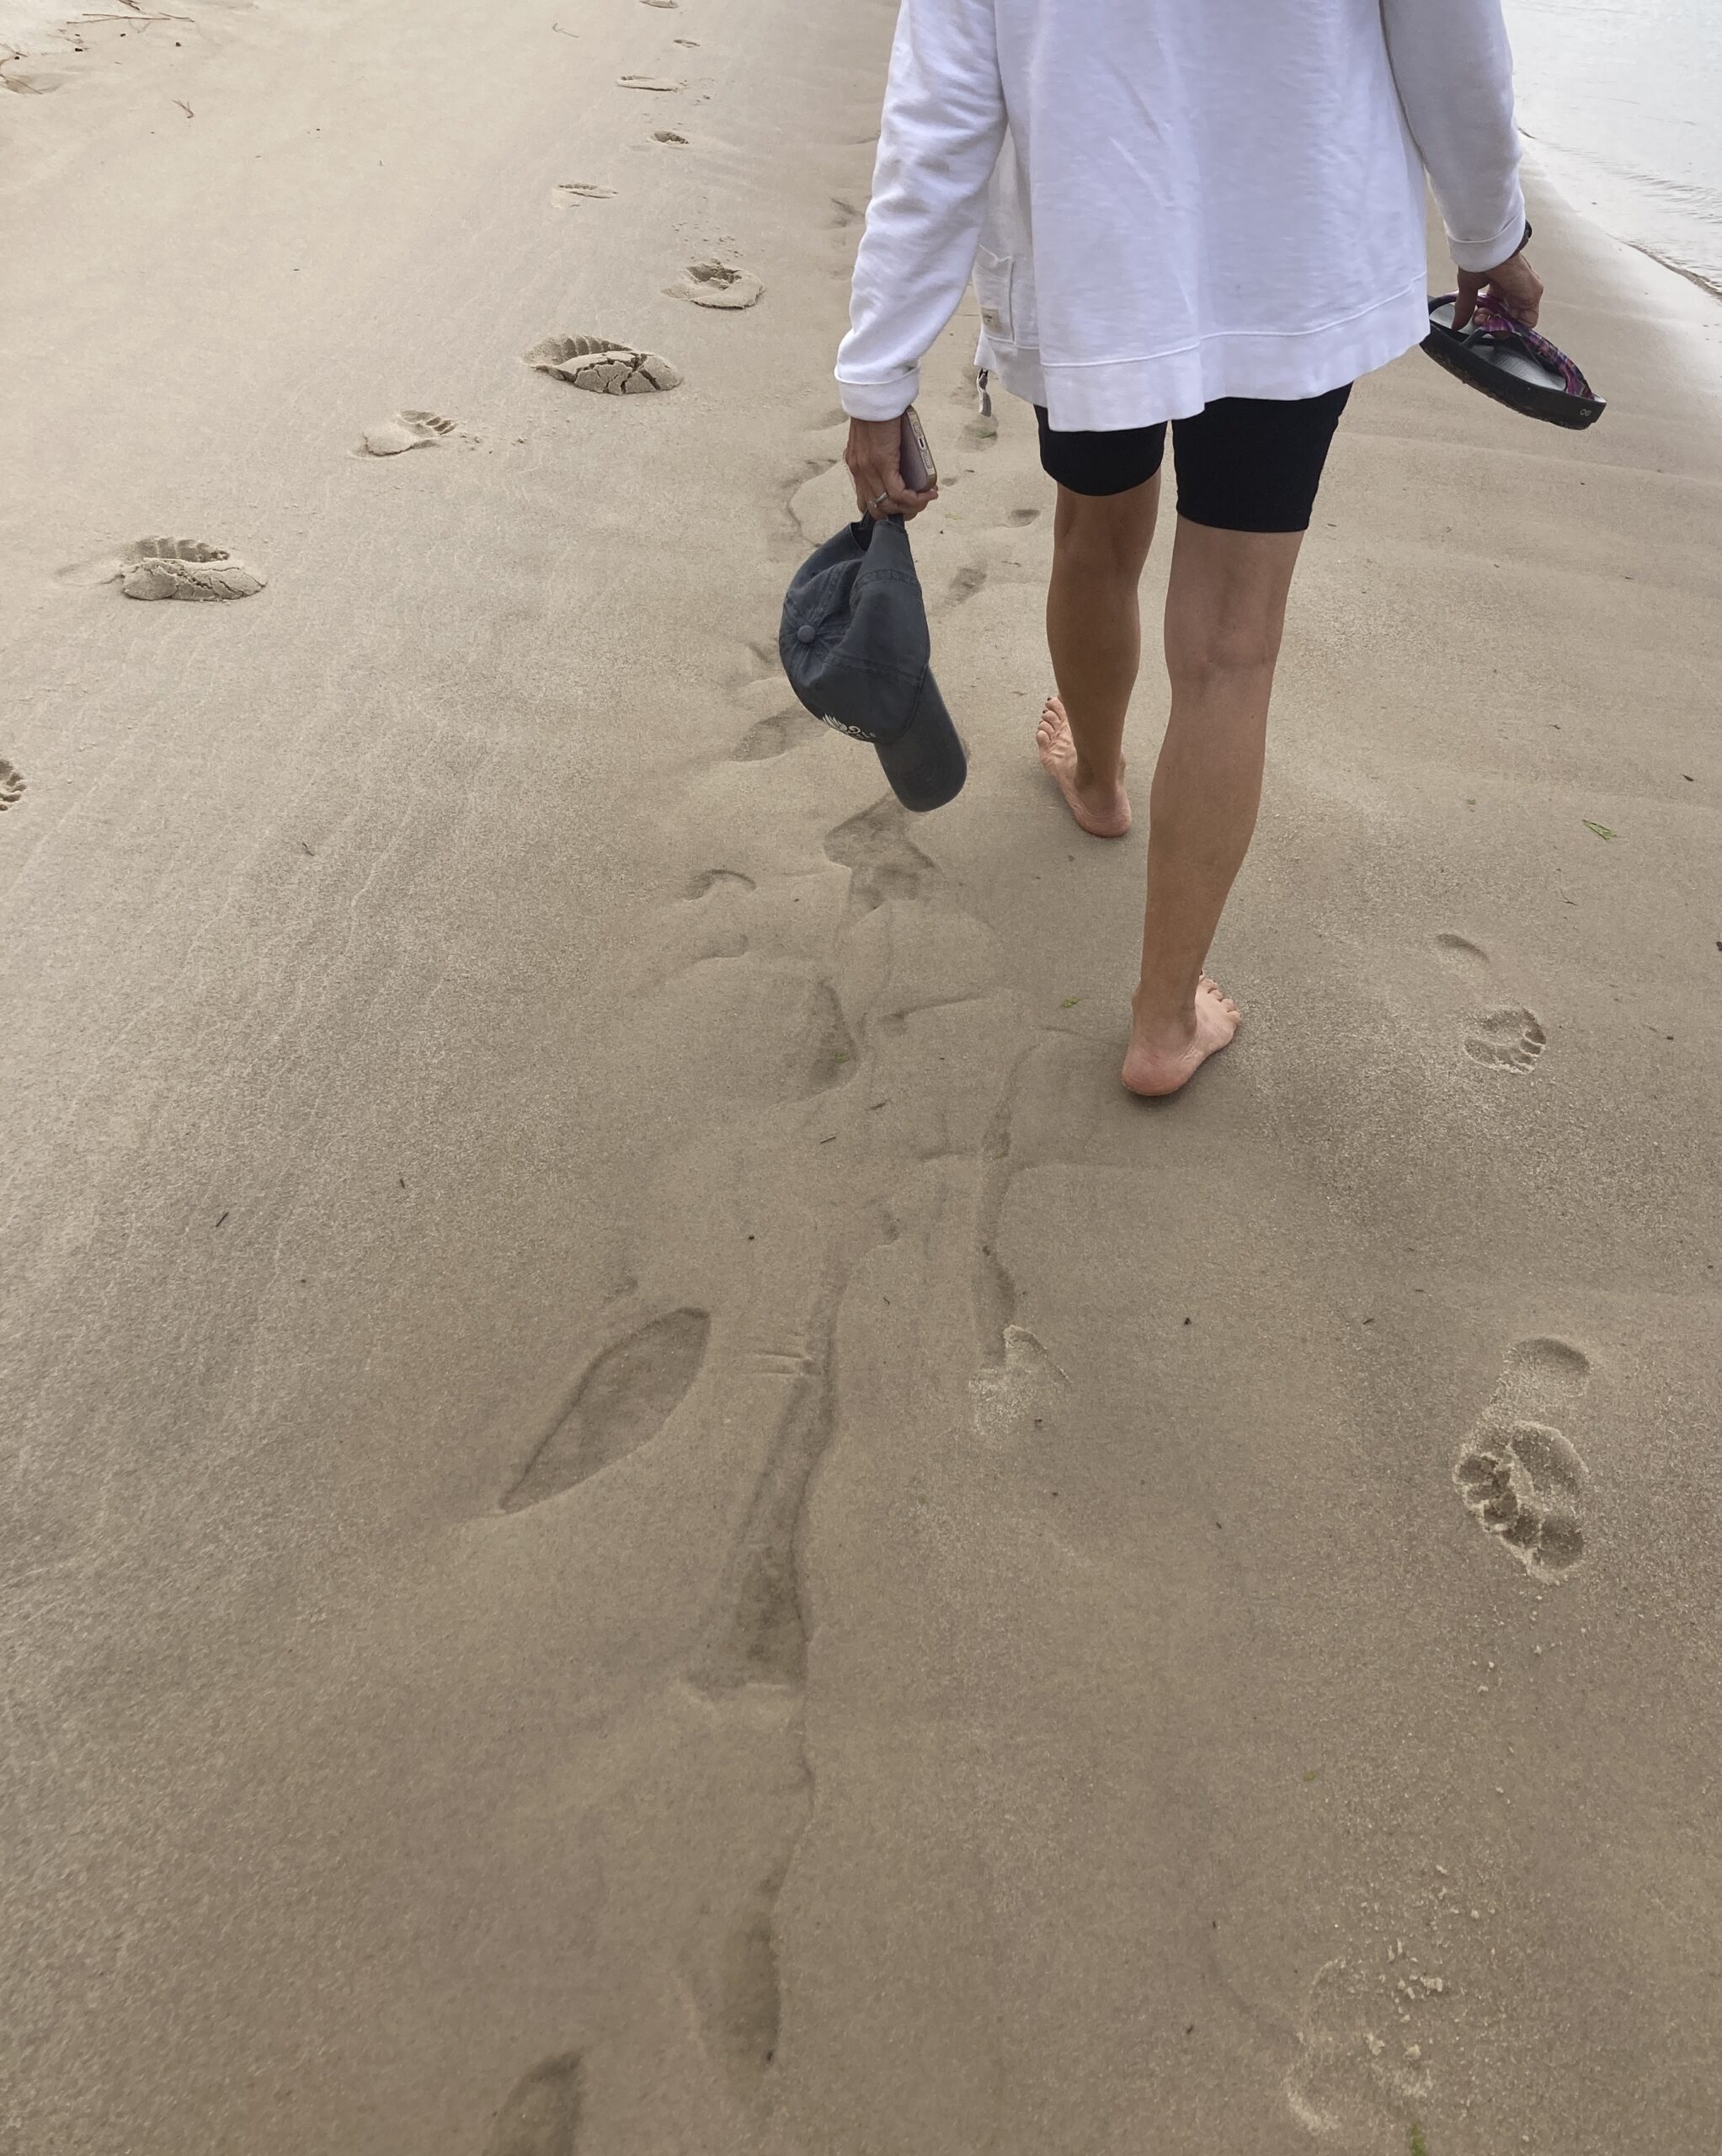
10) And lastly is to use a long strap to improve your posture. Watch the one-minute video. Wonderful way to correct poor posture and to stretch your shoulders.
And since it is summer…I leave you with a short slide show of beautiful flower photos (many of these have featured in my other blog posts):
 |
| Customize a free digital slideshow |
Happily back-full and bounteously flowerous!
Rick
Hi Fran, love the flowers, they always remind me of Mom!
Also love the back poses, I do many of these in my classes! A flexible spine is a youthful spine no matter how old you are☺️
Nora, I definitely got mom’s love of flowers! I think we all did. I also find myself “stealing” seeds on my walks, something else mom did. And glad you do these poses with your classes. love, Fran
Thanks, Fran. I appreciate your thoughtfulness. Hey, Steve summited Kilimanjaro on July 19. Is now heading home on long journey of frequent flier miles after a five day safari where he saw them all, big and small.
So very amazing, about Steve summit of Kili!! I’d love to do that. And the safari sounds wonderful. -Fran
Great poses Fran. Thanks mucho.
You are so welcome, Barb! -Fran
Thank you, Jeanne! So true about “Happy Back, Happy Life” -Fran
Thanks Fran. Happy back, happy life. The flower pics are nice too. Jeanne